npm i --save nativescript-expresspay
- 版本:1.0.0
- GitHub:
- NPM: https://npmjs.net.cn/package/nativescript-expresspay
- 下载
- 昨天: 0
- 上周: 1
- 上个月: 2
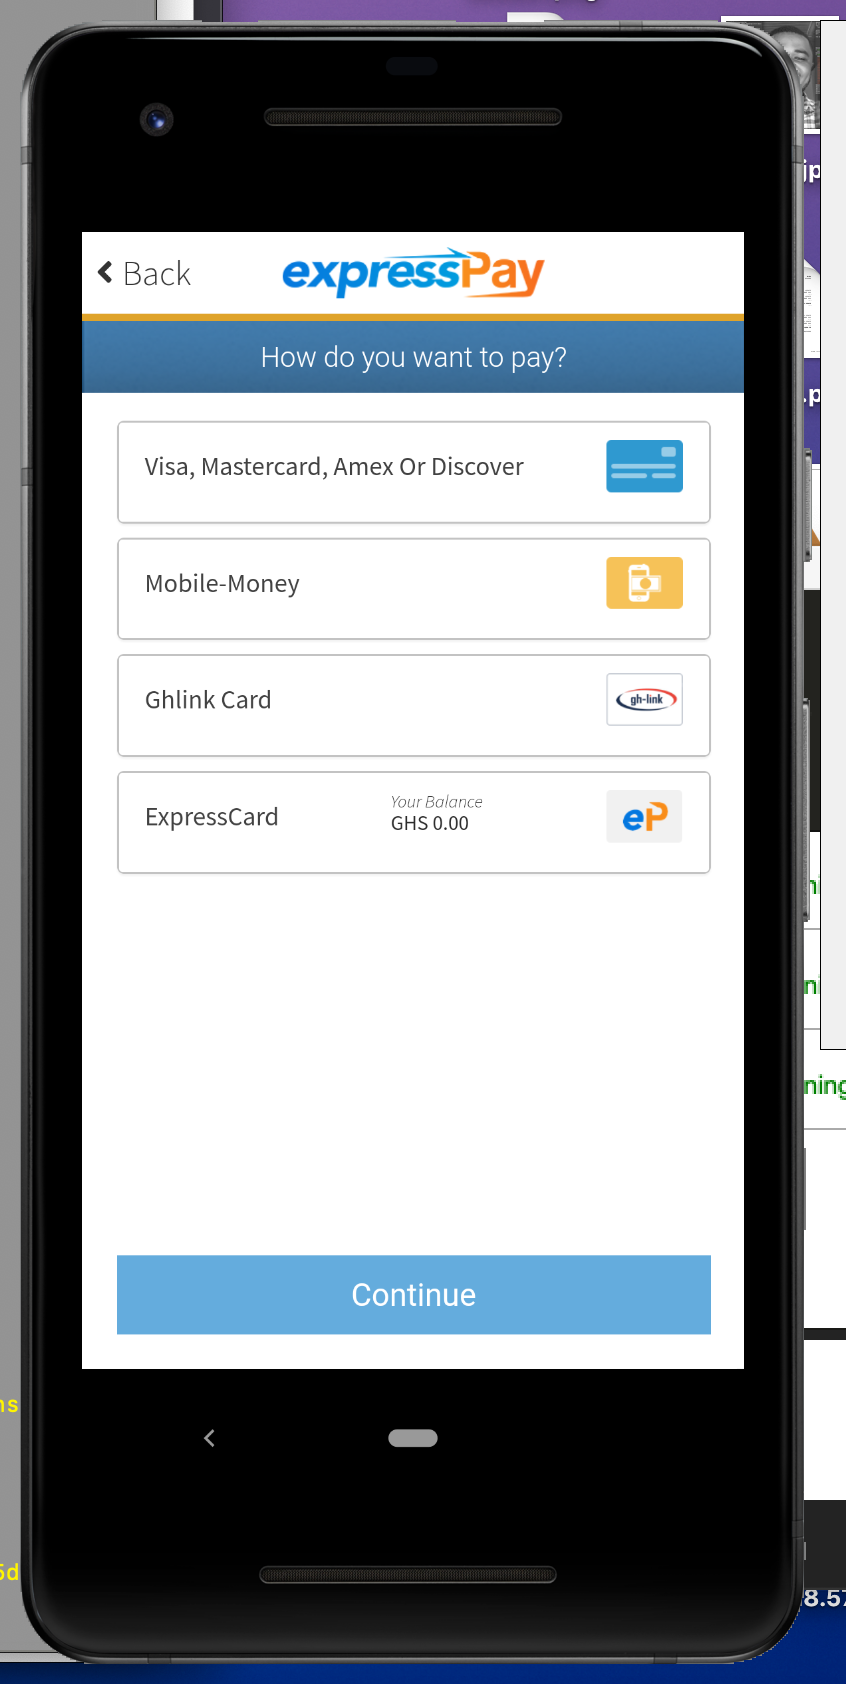
Nativescript Expresspay

此插件允许您使用 Nativescript 与 expresspay-gh 支付平台。更多信息请访问 https://expresspaygh.com/
要求
- 将
expresspay_browser_switch_activity.xml添加到AppResources/Android/src/main/res/layout
<RelativeLayout xmlns:android="http://schemas.android.com/apk/res/android"
  xmlns:tools="http://schemas.android.com/tools"
  android:id="@+id/layout"
  android:layout_width="match_parent"
  android:layout_height="match_parent" android:paddingLeft="@dimen/activity_horizontal_margin"
  android:paddingRight="@dimen/activity_horizontal_margin"
  android:paddingTop="@dimen/activity_vertical_margin"
  android:paddingBottom="@dimen/activity_vertical_margin">
   />
  <WebView xmlns:android="http://schemas.android.com/apk/res/android"
      android:layout_width="match_parent"
      android:layout_height="match_parent"
      android:id="@+id/expresspay_webview">
  </WebView>
</RelativeLayout>- 将
dimens.xml添加到AppResources/Android/src/main/res/values
<resources>
    <!-- Default screen margins, per the Android Design guidelines. -->
    <dimen name="activity_horizontal_margin">16dp</dimen>
    <dimen name="activity_vertical_margin">16dp</dimen>
</resources>- 将 expresspay 浏览器活动添加到您的
AndroidManifest.xml中,可能需要在ErrorReportActivity活动之前添加
<activity
android:name="com.expresspaygh.api.ExpressPayBrowserSwitchActivity"
android:exported="false">
<intent-filter>
    <category android:name="android.intent.category.DEFAULT" />
    <category android:name="android.intent.category.BROWSABLE" />

    <data android:scheme="${applicationId}.expresspaygh" />
</intent-filter>

<meta-data
    android:name="android.webkit.WebView.EnableSafeBrowsing"
    android:value="true" />
</activity>
安装
tns plugin add nativescript-expresspay用法
探索插件用法最好的方法是检查插件存储库中的两个演示应用程序。在 demo 文件夹中可以找到插件的用法。
除了插件用法之外,这两个应用程序都是 webpack 配置的。
简而言之,以下是步骤:
导入插件
TypeScript
import * as Expresspay from 'nativescript-expresspay';JavaScript
var Expresspay = require("nativescript-expresspay");启动 Expresspay
TypeScript
let context = Expresspay.initialize({
    request: Expresspay.RequestType.Submit,
    server_url: "http://172.20.10.5/custom/demo.expresspay.com/server.php", // specifiy your server url to generate token
    enable_debug: true,
    order_id: "82373",
    currency: "GHS",
    amount: "2.00",
    order_desc: "Daily Plan",
    first_name: "Test",
    last_name: "Api",
    email: "[email protected]",
    phone_number: "233546891427",
    account_number: "233546891427"
});
JavaScript
var context = Expresspay.initialize({
    request: "submit",
    server_url: "http://172.20.10.5/custom/demo.expresspay.com/server.php", // specifiy your server url to generate token
    enable_debug: true,
    order_id: "82373",
    currency: "GHS",
    amount: "2.00",
    order_desc: "Daily Plan",
    first_name: "Test",
    last_name: "Api",
    email: "[email protected]",
    phone_number: "233546891427",
    account_number: "233546891427"
});
完整用法
context
    .getToken()
    .then((response) => {
      console.log("Payload response", response)
      return context.checkoutPayment()
    })
    .then((response) => {
      console.log("PAYMENT COMPLETED", response)
    })
    .catch((e) => {
      console.log(e);
    });
API
方法
| 选项 | 状态 | 默认 | 描述 |
|---|---|---|---|
| request | 必需 | null | 设置服务器请求类型 |
| enable_debug | 可选 | false | 设置开发环境。请确保在您的生产代码中将此值设置为 false。这有助于记录服务器响应 |
| server_url | 可选 | https://sandbox.expresspaygh.com/api/sdk/php/server.php | 实现 express pay 服务器端 sdk 的服务器上位置的完整路径 url |
| currency | 必需 | null | 交易货币 |
| amount | 必需 | null | 客户为订单支付的金额 |
| order_id | 必需 | null | 唯一的订单识别号 |
| order_desc | 必需 | null | 订单描述 |
| account_number | 必需 | null | 客户在商家处的账户号 |
| redirect_url | 可选 | null | 客户完成支付过程后应重定向的 URL |
| order_img_url | 可选 | null | 客户结账时应该显示的图片。这必须从服务器端实现 |
| first_name | 可选 | null | 客户名 |
| last_name | 可选 | null | 客户姓 |
| phone_number | 可选 | null | 客户电子邮件地址 |
| 可选 | null | 客户姓 |
贡献
我们喜欢 PRs!如果您想贡献,但不确定从哪里开始 - 查找带有 标签为 help wanted 的问题。
获取帮助
请,仅使用 github 问题 来报告错误或请求功能。对于一般问题和支持,请查看 Stack Overflow 或在我们的 NativeScript 社区 Slack 频道 中向我们的专家提问。
许可证
Apache 许可证版本 2.0,2019 年 1 月