- 版本:7.0.2
- GitHub: https://github.com/eddyverbruggen/nativescript-fingerprint-auth
- NPM: https://npmjs.net.cn/package/nativescript-fingerprint-auth
- 下载
- 前一天:8
- 上周:43
- 上个月:241
NativeScript 指纹认证
也支持 iPhone X(s) 的 Face ID 🚀

安装
从命令提示符转到您的应用程序根目录并执行
tns plugin add nativescript-fingerprint-auth然后打开 App_Resources/Android/AndroidManifest.xml 并查找 minSdkVersion。如果设置为小于 23 的版本,请添加此 overrideLibrary 行
  <uses-sdk
      android:minSdkVersion="17"
      android:targetSdkVersion="__APILEVEL__"
      tools:overrideLibrary="com.jesusm.kfingerprintmanager"/>
演示
如果您想快速入门,请查看 演示应用程序。使用以下命令在本地运行
git clone https://github.com/EddyVerbruggen/nativescript-fingerprint-auth
cd nativescript-fingerprint-auth/src
npm run demo.android # or demo.ios


API
想要比这些原始代码示例更详细的指南?阅读 Nic Raboy 关于此插件的博客文章。
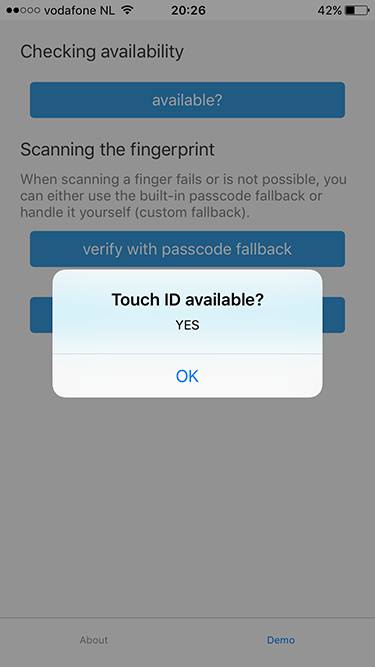
可用
JavaScript
var fingerprintAuthPlugin = require("nativescript-fingerprint-auth");
var fingerprintAuth = new fingerprintAuthPlugin.FingerprintAuth();

fingerprintAuth.available().then(
    function(avail) {
      console.log("Available? " + avail);
    }
)
TypeScript
import { FingerprintAuth, BiometricIDAvailableResult } from "nativescript-fingerprint-auth";

class MyClass {
  private fingerprintAuth: FingerprintAuth;

  constructor() {
    this.fingerprintAuth = new FingerprintAuth();
  }

  this.fingerprintAuth.available().then((result: BiometricIDAvailableResult) => {
    console.log(`Biometric ID available? ${result.any}`);
    console.log(`Touch? ${result.touch}`);
    console.log(`Face? ${result.face}`);
  });
}
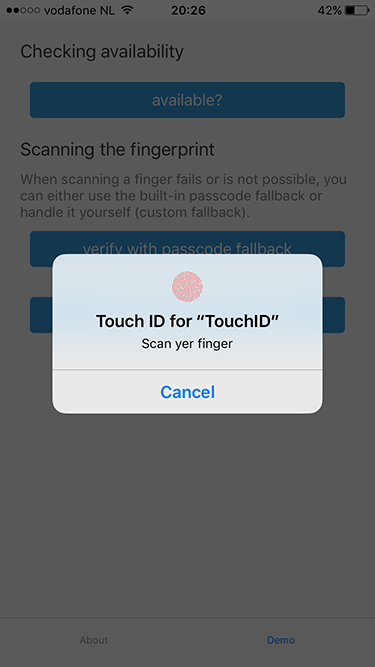
verifyFingerprint
注意,在 iOS 模拟器上,这只会 resolve()。
fingerprintAuth.verifyFingerprint(
	{
	  title: 'Android title', // optional title (used only on Android)
	  message: 'Scan yer finger', // optional (used on both platforms) - for FaceID on iOS see the notes about NSFaceIDUsageDescription
	  authenticationValidityDuration: 10, // optional (used on Android, default 5)
	  useCustomAndroidUI: false // set to true to use a different authentication screen (see below)
	})
	.then((enteredPassword?: string) => {
	  if (enteredPassword === undefined) {
	    console.log("Biometric ID OK")
	  } else {
	    // compare enteredPassword to the one the user previously configured for your app (which is not the users system password!)
	  }
	})
	.catch(err => console.log(`Biometric ID NOT OK: ${JSON.stringify(err)}`));
更好的 Android UX/UI (useCustomAndroidUI: true)
Android 默认认证屏幕是一个独立的屏幕,(根据确切的 Android 版本)看起来有点“无聊”。因此,从版本 6.0.0 开始,此插件添加了覆盖默认屏幕并提供 iOS 弹出式样式的功能,您可以通过在上面的函数中传递 useCustomAndroidUI: true 来激活它。
一个重要的事情要明白是,此对话框中的“使用密码”选项不会将输入的密码与系统密码进行验证。它必须用于将输入的密码与用户之前配置的应用特定密码进行比较。
可选更改
如果您想覆盖弹出屏幕的默认文本,请在您的项目中添加一个 strings.xml 文件,并覆盖您喜欢的属性。请参见演示应用程序以获取示例。
⚠️ 使用 NativeScript < 5.4.0 的重要注意事项
使用插件版本 < 7.0.0 以能够与 NativeScript < 5.4.0 一起使用此功能
如果您使用的是 NativeScript 5.4.0 或更高版本,请跳过此部分,因为所有内容都将自动处理!
为了能够使用此屏幕,需要在 App_Resources/Android/AndroidManifest.xml 中进行更改,因为我们的 NativeScript 活动需要扩展 AppCompatActivity(请注意,在未来这可能会成为 NativeScript 应用程序的默认设置)。
为此,打开文件,将 <activity android:name="com.tns.NativeScriptActivity" 替换为 <activity android:name="org.nativescript.fingerprintplugin AppCompatActivity"。
请注意,如果您忘记此操作并设置 useCustomAndroidUI: true,则插件将以相关的错误消息 reject Promise。
webpack 和 snapshot 构建所需的重要更改(仅限 NativeScript < 5.4.0)
如果您正在使用 Webpack(带有或没有 snapshot),则为了使自定义 UI 在您的生产构建中正常工作,还需要进行一些更改。
首先,您需要编辑您的 vendor-platform.android.ts 文件,并添加 require("nativescript-fingerprint-auth/appcompat-activity");。您可以在演示应用程序中查看更改后的文件 此处。
第二个更改应该在您的 webpack.config.js 文件中进行。找到将 NativeScriptSnapshotPlugin 推送到 webpack 插件的位置,并在 tnsJavaClassesOptions.packages 数组中添加 "nativescript-fingerprint-auth"。结果应类似于
// ...
    if (snapshot) {
        config.plugins.push(new nsWebpack.NativeScriptSnapshotPlugin({
            chunk: "vendor",
            projectRoot: __dirname,
            webpackConfig: config,
            targetArchs: ["arm", "arm64", "ia32"],
            tnsJavaClassesOptions: {
                packages: ["tns-core-modules", "nativescript-fingerprint-auth"],
            },
            useLibs: false
        }));
    }
// ...verifyFingerprintWithCustomFallback(仅限 iOS,在 Android 上回退到 verifyFingerprint)
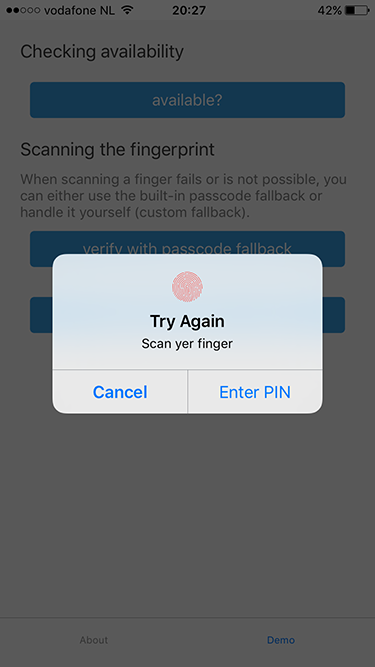
您可以选择不回退到 iOS 默认的密码界面,而是自己实现。只需在错误回调被调用时显示即可。
fingerprintAuth.verifyFingerprintWithCustomFallback({
  message: 'Scan yer finger', // optional, shown in the fingerprint dialog (default: 'Scan your finger').
  fallbackMessage: 'Enter PIN', // optional, the button label when scanning fails (default: 'Enter password').
  authenticationValidityDuration: 10 // optional (used on Android, default 5)
}).then(
    () => {
      console.log("Fingerprint was OK");
    },
    error => {
      // when error.code === -3, the user pressed the button labeled with your fallbackMessage
      console.log("Fingerprint NOT OK. Error code: " + error.code + ". Error message: " + error.message);
    }
);
面容 ID(iOS)
iOS 11 添加了对面容 ID 的支持,并首次由 iPhone X 支持。开发者需要为 NSFaceIDUsageDescription 提供一个值,否则您的应用可能会崩溃。
您可以通过在 app/App_Resources/ios/Info.plist 中添加类似以下内容来提供此值(使用面容 ID 的原因)
  <key>NSFaceIDUsageDescription</key>
  <string>For easy authentication with our app.</string>
安全++(iOS)
自 iOS9 以来,您可以检查自上次检查以来是否已更改已注册指纹的列表。建议您添加此检查,以便您可以抵御针对您应用的黑客攻击。有关更多详细信息,请参阅这篇文章。
因此,在 available 之后检查指纹之前,请添加另一个检查。如果 didFingerprintDatabaseChange 返回 true,您可能希望在再次接受有效的指纹之前重新验证用户。
fingerprintAuth.available().then(avail => {
    if (!avail) {
      return;
    }
    fingerprintAuth.didFingerprintDatabaseChange().then(changed => {
        if (changed) {
          // re-auth the user by asking for his credentials before allowing a fingerprint scan again
        } else {
          // call the fingerprint scanner
        }
  });
});
变更日志
- 6.2.0 修复了 iOS 上的潜在绕过问题。
- 6.1.0 修复了 Android 上的潜在绕过问题。
- 6.0.3 Android 与其他插件的 Intent 发生冲突。
- 6.0.2 插件在 iOS 生产构建 / TestFlight 中工作不正确。
- 6.0.1 修复了与 NativeScript 3.4 的兼容性问题。
- 6.0.0 允许在 Android 上自定义 UI。
- 5.0.0 更好的
Face ID支持。破坏性更改,请参阅available的 API。 - 4.0.1 与官方 NativeScript 插件种子 保持一致。需要 NativeScript 3.0.0+。感谢,@angeltsvetkov!
- 4.0.0 转换为 TypeScript。改变了
verifyFingerprintWithCustomFallback的错误响应类型。 - 3.0.0 添加了 Android 支持。将
nativescript-touchid重命名为nativescript-fingerprint-auth(对任何不便表示歉意!)。 - 2.1.1 Xcode 8 兼容性 - 需要 NativeScript 2.3.0+。
- 2.1.0 添加了
didFingerprintDatabaseChange以增强安全性。 - 2.0.0 添加了
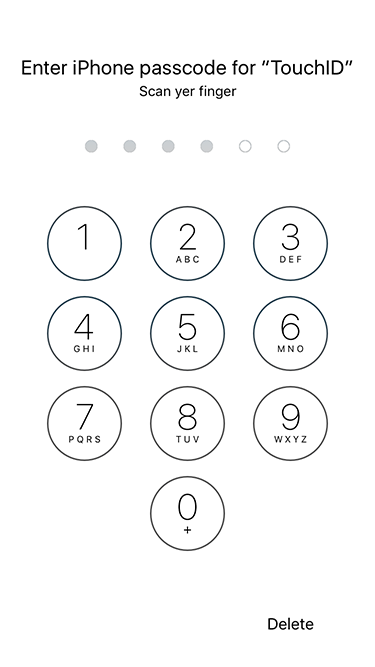
verifyFingerprintWithCustomFallback,现在verifyFingerprint将回退到密码。 - 1.2.0 现在可以使用内置的密码界面作为回退。
- 1.1.1 添加了 TypeScript 定义。
- 1.1.0 添加了 Android 平台,该平台将始终为
touchid.available返回 false。


